DVD Cover Slips
It is possible to create covers for DVD videos using Amlib Reports.
Report template
- &DVDCOV.QRP
Load the template
If you customise the template in any way, then we recommend saving it as a customised file (with a unique filename – for example: QUDVDCOV.QRP), which will ensure that it is not overwritten during upgrades. This customised file will then need to loaded into Amlib to be used in a report.
- Launch the Amlib client.
- Go to Main > Reports > RepBibliographic – the Report Files screen will display.
- Report Entity drop-down – select Bibliographic.
- Click the F1 New button – the Bibliographic – New Report File screen will display:
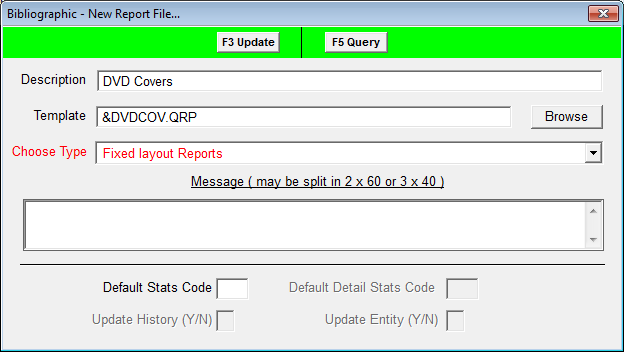
- Enter the following details:
- Type in a Description – for example: DVD Covers.
- Browse to the Amlib/Reports folder on your Amlib server and locate the template to be loaded (if the template has been loaded onto your PC – then navigate to the local folder).
- Click the Open button.
- Choose Type = Fixed layout Reports.
- Click the F3 Update button.
The customised template is now loaded.
Create the report
This Bibliographic Report uses the F10 More button. Once these are set there should be no need to alter them. This report has a set of 8 fields only.
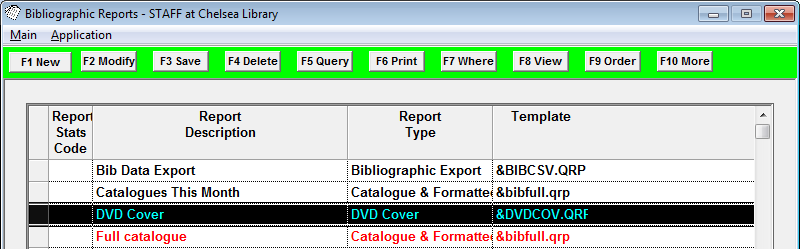
- Go to Main > Reports > RepBibliographic – the Bibliographic Reports screen will display.
- Click the F1 New button – the Select Report Format screen will display.
- Highlight the DVD Cover report template (&DVDCOV.QRP or your customised template) and click the Select button.
- Type in a Description – for example: DVD Covers.
- Click the F3 Save button.
- Click the F10 More button - the More screen will display:

- Setup the More screen as follows (the Line numbers correspond to fields inserted into the template):
- Click the F1 New or F2 Insert button
- Type in field details - the columns are filled in as follows:
- Report Line Number = can be any number between 1 and 20 Note: Each row of this table may be used to collect 1 of the 20 fields on the Report template. These first 20 fields contain Tag or Subfield data (Fields 1-20), and the next 20 fields (Fields 1A – 20A) contain the associated Tag Descriptions. In the Reporting module the entire Catalogue is output at once. Fields 1A – 20A are included only if the Tag Descriptors are to be included.
- Tag Number = MARC Tag field number – for example: 245 | Title
- eg + or blank or and sf in ('a', 'b') =
- blank or and cat_sf in ('a', 'b') =
Example report entry Description Explanation blank (Default) The MARC Display is printed If the column is left blank, then the entire MARC Display is printed + All data in the specified Tag is printed no matter how many Tags are included in the record All Subject listings are printed, where there is only one or several hundreds! and sf in ('a') Only the Subfields specified to be printed within this Authority Tag If 245 | Title Tag, only the Series name and number printed and cat_sf in ('a') Only the Subfields speficied to be printed within this Non-Authority Tag If 260 | Publisher Tag, only the $c (Date) Subfield printed (and not Place or Publisher)
- Click the F3 Save button when complete.
Create the saved file for printing
A Catalogue saved file is needed for this report – but it is usually easiest to start with a Stockitem saved file and then XReference to Catalogue. To create you Stockitem file, you can Wand into File to specify the DVDs you want for the DVD Covers. To do this:
- Open the Stockitem module.
- From the main menu, select File > WandIntoFile – the Wand Into File screen will display:
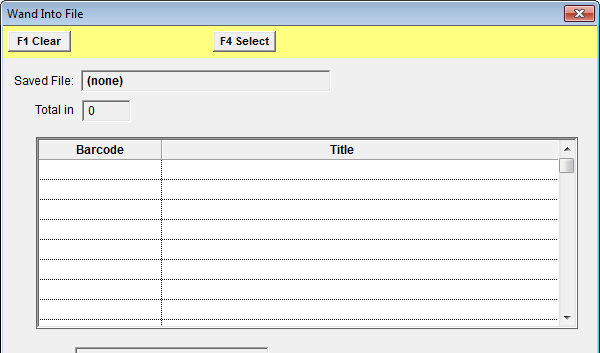
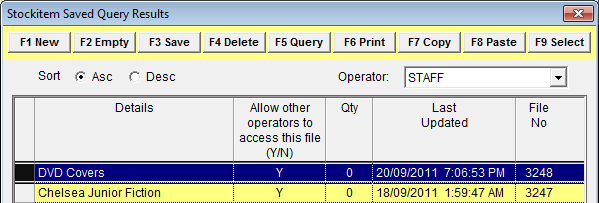
- Click the F4 Select button - the Stockitem Saved Query Results screen will display:

- Highlight DVD Covers in the file list (if there are already items in the file – displaying in Qty column – click the F2 Empty button). Note: If there is no existing file, you can create a file by clicking the F1 New button, typing a description into the Details column and clicking the F3 Save button. Then highlight this newly created file and click the F9 Select button.
- You will be returned to the Wand Into File screen – the name of the selected file will appear in the Saved File: field.
- Wand in the items (or type the Item No’s into the Item No: field)
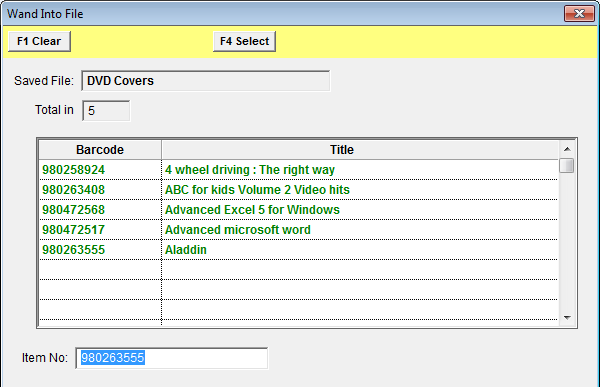
- The wanded items will automatically save to the Saved File - close the Wand Into File screen when complete by clicking on the red [ X ].
- From the Stockitem menu, select File > DisplayFile – the Stockitem Saved Query Results screen will display:
- Highlight the DVD Covers file and click the F9 Select button – a Stockitem List will display:
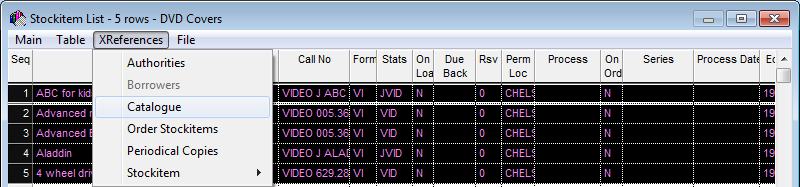
-
Highlight the items and select XReferences > Catalogue – the corresponding Catalogue records for these items will display in a Catalogue List:

- From the menu, select File > Save All – the Catalogue Saved Query Results screen will display:
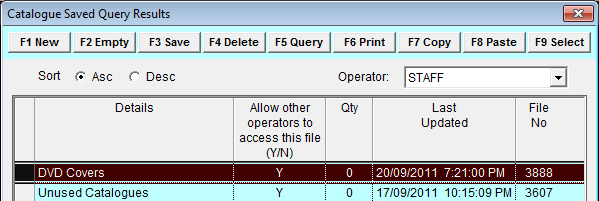
- Select the DVD Covers file from the list (this is a different file to that in the Stockitem module) (if there are already items in the file – displaying in Qty column – click the F2 Empty button). Note: If there is no existing file, you can create a file by selecting the F1 New button, typing a description into the Details column and clicking the F3 Save button. Then highlight this newly created file and click the F9 Select button.
- A prompt with the following message will display: The 'DVD Covers' file contains XX catalogues.
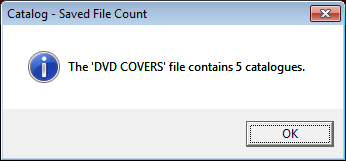
-
Click the OK button.
Print the covers
- Go to Main > Reports > RepBibliographic – the Bibliographic Reports screen will display:
- Highlight the DVD Cover report.
- Click the F8 View button (you do not need to set a F7 Where statement or F9 Order) – the Select Saved File screen will display:
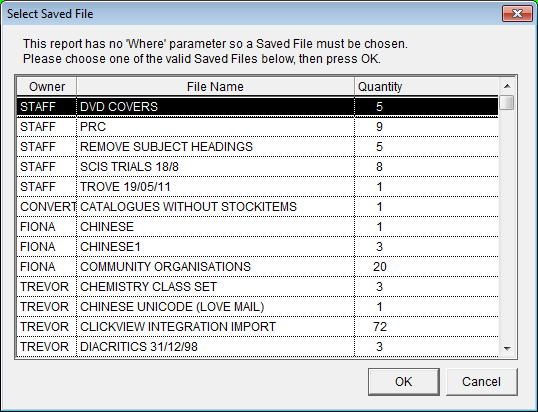
- Select the DVD Cover file and click the OK button – the covers will display the Report – View screen:
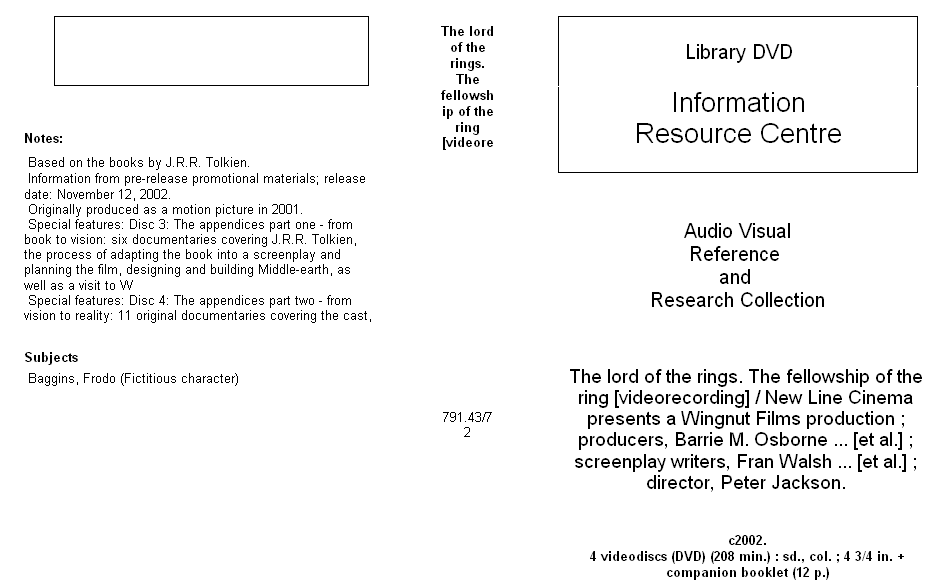
- Review the report and if it looks okay, send it to print using the Print icon.