Where searching
Learn how to use Where searches in the Stockitem and Borrower modules in Amlib.
Where search
You can access Where searches in the Stockitem and Borrower modules by selecting Application > Where... (in the Stockitem module) or Application > BorrowerWhere (in the Borrower module)
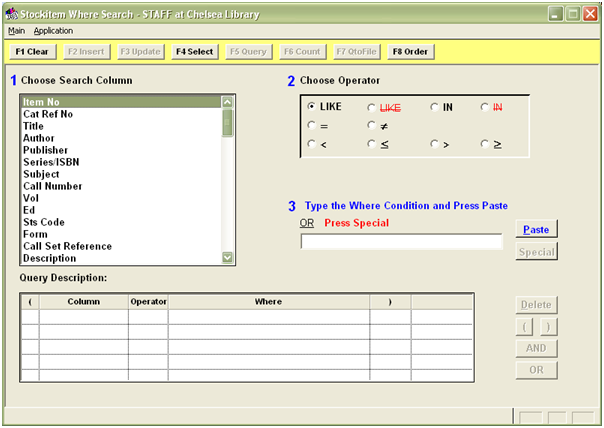
- Choose Search column: It can be helpful to have a look at the main Stockitem (or Borrower) screen if you’re confused about which fields contain what information.
- Choose Operator: These are the same as in the Reports module.
operator description example LIKE Where the required data in this field begins with the text entered LIKE ELD (for Eldorado) LIKEWhere the required data in this field does not begin with the text entered LIKEELD (for all except Eldorado)IN Useful for selecting multiple codes IN A,J,YA (for all of these types) INUseful for multiple codes not to be included INILL,LS (to exclude these types)= Where the text entered is exactly equal to the data required = A (borrowers with a code of A for Adult) ≠ Where the text entered is not equal to the data required
Useful for NOT EQUAL TO NULL – choose this operator, do not enter any data and click the Paste button≠ J (borrowers who do not have a code of J) < Where the text entered is less than the data required < 01/10/10 (less than 1 Oct 2010) ≤ Where the text entered is equal or less than the data required ≤ 01/10/10 (less than or equal to 1 Oct 2010) > Greater than >01/10/10 (greater than 1 Oct 2010) ≥ Equal or greater than the text entered ≥ 01/10/10 (greater than or equal to 1 Oct 2010) - Type the Where condition: This can be a date, a code, letters, numbers, etc.
button description Paste Adds the Where condition to the Query Description table Special This button contains useful fields that can be used for any mathematical operand (i.e. =, ≠, <, ≤, >, ≥) – for example: Current Date Delete Deletes the highlighted Where condition from the Query Description table AND Includes the AND separator to the Where conditions in the Query Description table (this is the default) OR Includes the OR separator to the Where conditions in the Query Description table ( Adds a beginning bracket to the Where condition in the Query Description table ) Adds a closing bracket to the Where condition in the Query Description table - Once your Where condition is set up you can either:
- Count the number of results using the F6 Count button.
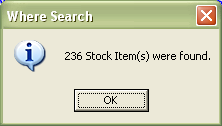
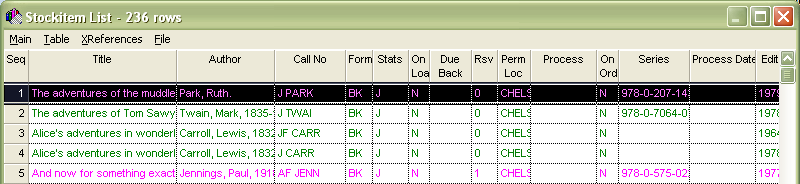
- Get the list of results using the F5 Query button.
- Count the number of results using the F6 Count button.
- If you wanted to find ALL of something (for example: Borrower, StockItems, items on loan) then you could run a query such as:
- BarCode IS NOT NULL (all Borrowers)
- ItemNo IS NOT NULL (all StockItems)
- Issue Due Date Back IS NOT NULL (all items on loan)

The NULL value is achieved by simply leaving a blank space in the field 3 Type the Where Condition and Press Paste – as soon as the Paste button is clicked a NULL value is entered into the Query Description table.
Save a Where search
It is possible to save a Where search:
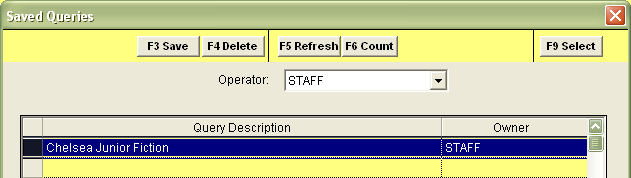
- Click the F2 Insert button. The Saved Queries table will show.
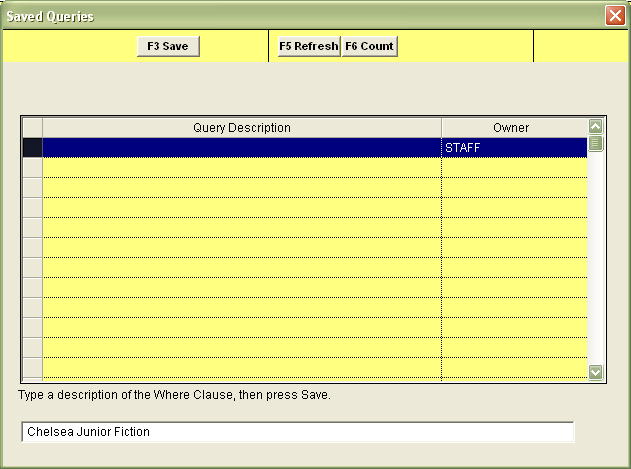
- Enter a Description and select the F3 Save button. A prompt will display with the following message: The Query File has been created.
- Once saved, you can access saved Where search by clicking the F4 Select button in the Where screen, selecting the Saved Query from the list and then clicking the F9 Select button:
Query to file
It is possible to save the Where search results to a file, which can then be used in other operations (including reports).
- After choosing your Where parameters, select the F7 QtoFile button. The Saved Query Results table will display:
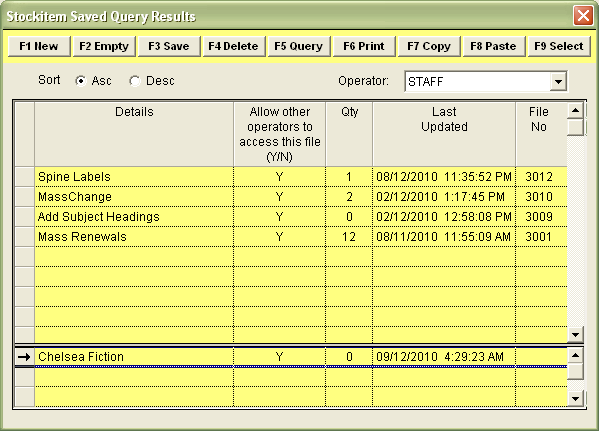
- You can either use a pre-existing list file or create a new list file:
- To use a pre-existing file: select a list entry from the table and click F9 Select (click F2 Empty first if you would like to clear any pre-existing list items – look at the Qty column to ascertain this.).
- Alternatively, a new file can be added by: clicking on the F1 New button, typing in the Details (for example: Chelsea Fiction) and then clicking on the F3 Save button. Then highlight the file and click the F9 Select button.
- This Saved File can now be used as part of a report or procedure.