Print Settings
Use this screen to select your print settings and customize your book straps.
Printing Default Settings
This setting allows you to select the default paper size for printing. The default paper size you select here applies to all items printed from the Print Queue. For more information, see Printing.
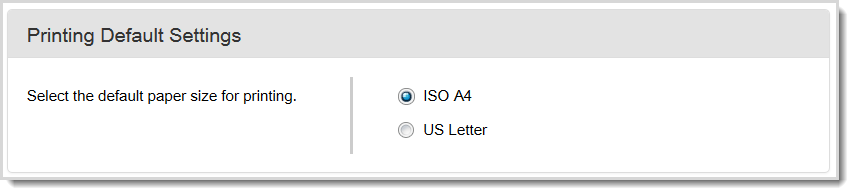
To select a printing default setting:
- Select the ISO A4 radio button or the US Letter radio button.
- Click Save.
Logo Image Settings
This setting allows you to add a logo to your book straps.
The logo will only appear on your book straps if you select to use customized book straps. See Book Strap Settings.
![]()
Book Strap and Sticker Settings
Use this section to customize your Borrower and Purchasing book strap and sticker and Lender book strap and sticker. Book straps and stickers can be printed from the Print Queue or while processing an individual request.
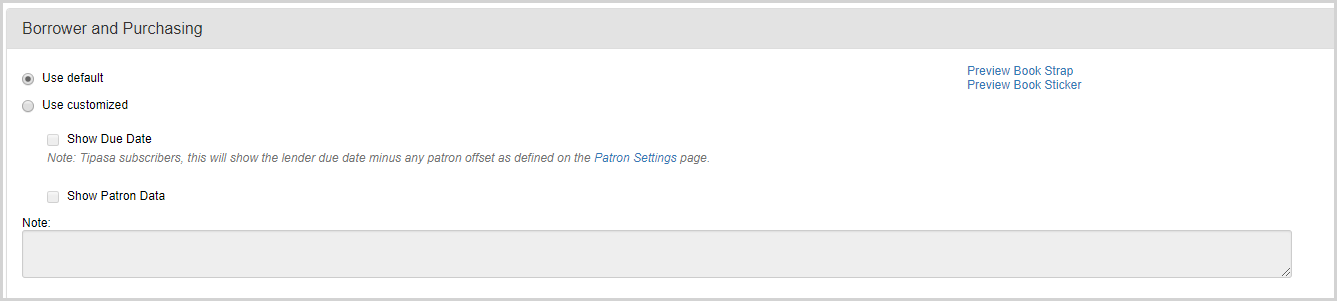
Borrower and Purchasing
This setting allows you to customize your library's Borrower and Purchasing book strap and book sticker. The Borrower and Purchasing book strap and book sticker can be printed out and used when you receive a borrowing request item. A customized book strap includes the logo you selected in the Logo Image Settings. Customized book straps and stickers include patron data (if selected) and any notes you enter into the Notes field.
To use the default book strap or sticker:
- Select the
radio button. - Optional. Click Preview Book Strap to preview the book strap. Click Preview Book Sticker to preview the book sticker.
- Click Save.
To customize the book strap:
- Select the Use customized radio button.
- Select Show Due Date to display the lender due date.
- Select Show Patron Data if you want to show information about the patron who requested the item.
- In the Notes field, enter any notes you want to include on the book strap.
- (Optional) Click Preview Book Strap to preview the book strap. Click Preview Book Sticker to preview the book sticker.
- Click Save.
Lender
This setting allows you to customize the Lender book strap or sticker. The Lender book strap or sticker can be printed out and used when you are processing lending requests. A customized book strap includes the logo you selected in the Logo Image Settings and any notes you enter into the Notes field.

To use the default book strap:
- Select the Use default radio button.
- (Optional) Click Preview Book Strap to preview the book strap. Click Preview Book Sticker to preview the book sticker.
- Click Save.
To customize the book strap:
- Select the Use customized radio button.
- In the Notes field, enter any notes you want to include on the book strap.
- (Optional) Click Preview Book Strap to preview the book strap. ClickPreview Book Sticker to preview the book sticker.
- Click Save.