See and See Also References Report
Learn to create and print See and See Also reference reports in Amlib.
Create report
- Launch the Amlib client.
- Go to Main > Reports > RepAuthority – the Authority Reports window will display.
- Click the F1 New button – the Select Report Format list will display:

- Highlight the template and click the Select button.
- &AUTHSBR.QRP – for See References
- &AUTHSAB – for See Also References
- The new report will appear in the list with the other existing reports.
- Type in a Description – for example: See Reference or See Also References.
- Click the F3 Save button.
- Highlight the report you have just created and select the F7 Where button – the Authority Reports – Where screen will display.
- There are four parameters:
- Key: Check for particular data contained in the MARC tag
- SeeKey: Check for particular data contained in the See Also MARC tag
- Tag: Search for a particular MARC tag
- Oper: User logged in when Authority was created
- Date
- The statement should include the following settings:
- SeeKey - for example: SeeKey IS NOT NULL (click the Paste button with no value in 3)
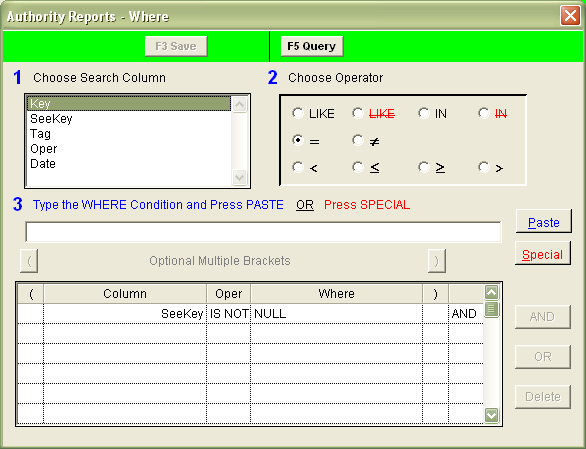
- SeeKey - for example: SeeKey IS NOT NULL (click the Paste button with no value in 3)
- To print a list of See Also references, you could enter the following statement:
- SeeAlsoKey - for example: SeeAlsoKey IS NOT NULL (click the Paste button with no value in 3)
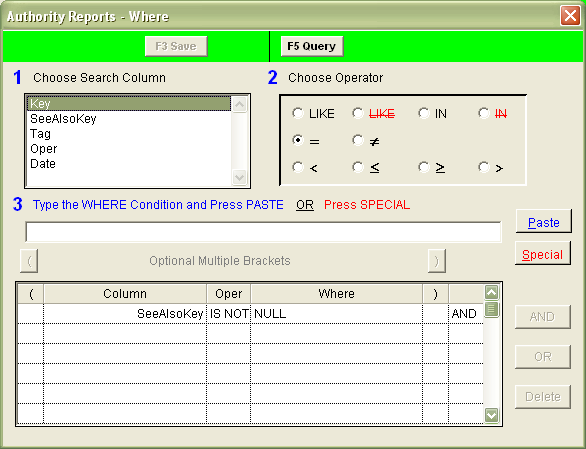
- SeeAlsoKey - for example: SeeAlsoKey IS NOT NULL (click the Paste button with no value in 3)
- Click the F3 Save button when complete.
- Click the F9 Order button - the Authority Reports - Order By screen will display:
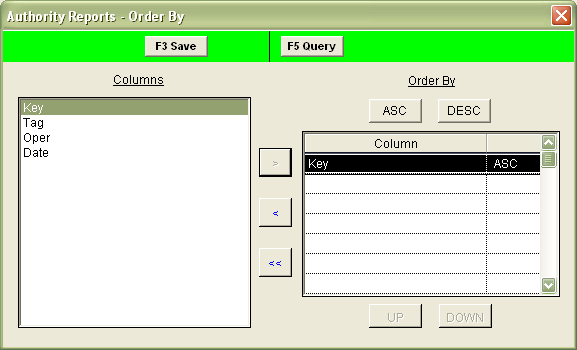
- Use the arrow keys to highlight and move Key from the Columns box to the Order By box - this prints the list in alphabetical order.
- Click the F3 Save button when complete.
View report
- Highlight the report you wish to run and select the F8 View button.
- The following message will appear:

- If you would like the report to run using the entire database (rather than a Saved List) then select No.
- The report will then display:
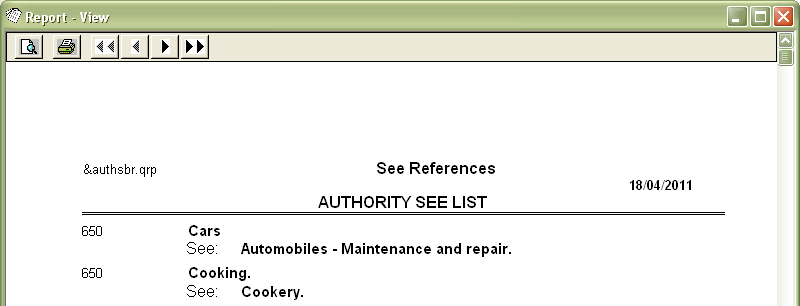
- Select the print button to print the report.