Manage email attachments
Learn how to manage report email attachments in Amlib.
Manage email attachments
Reports with the option to send attachments via email will have the Manage Email Attachments button enabled (button text is black).
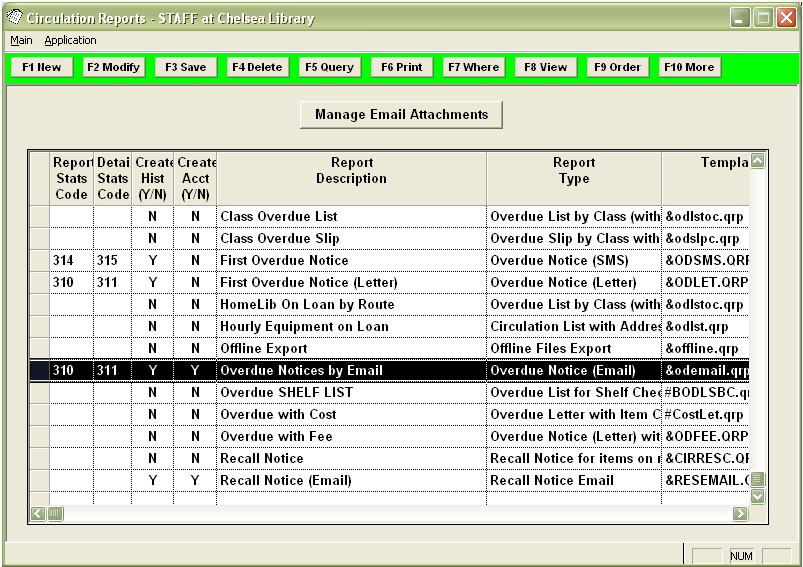
Email attachment parameters must first be set up in Supervisor settings. Once the correct template is selected, attachments such as MS Word documents can be sent with the email messages.
Supervisor settings
- Launch the Amlib client.
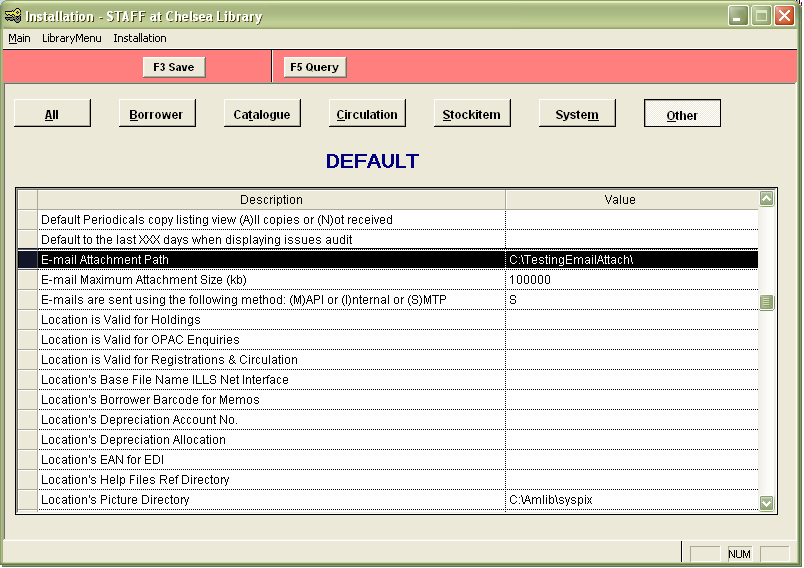
- Go to Main > Supervisor > Installation. The DEFAULT Installation screen will open.
- Select the Other tab.
- Scroll down and enter the E-mail Attachment Path = file path to your email attachments. All email attachment files must be saved to this location.
- Enter the E-mail Maximum Attachment Size = maximum size of attachments in Kb (1Mb = 1024 Kb).
- Click the F3 Save button.
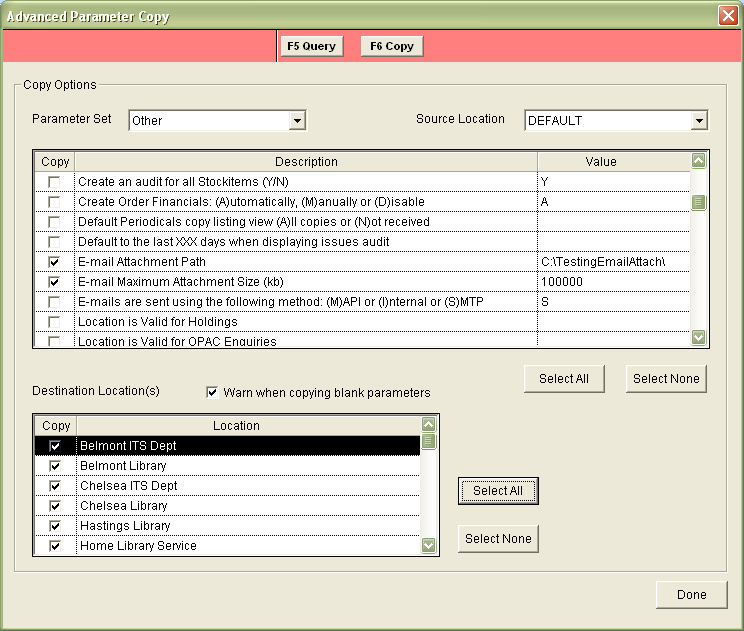
- Make sure to copy these settings to your other locations. Select Installation > Advanced Copy:
- Tick the E-mail Attachment Path and E-mail Maximum Attachment Size (kb) parameters.
- Tick all the locations in the Destination Location(s) box.
- Click the F6 Copy button.
- Exit the Amlib client (Ctrl-E or Ctrl-X) and restart to ensure these settings are propagated to the rest of the system.
Create the report
- Create the report – for example &N1ADDEM.QRP (see separate individual procedures for more information about creating email reports).

Add the attachment
- Highlight the report to which you would like to add an attachment.
- Click the Manage Email Attachments button. This will open the Manage Email Attachments window (the attachment path set in Main > Supervisor > Installation will be visible in the Attachment Path field).
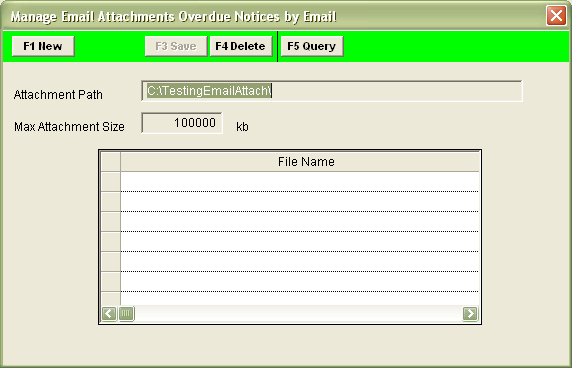
- Click the F1 New button.
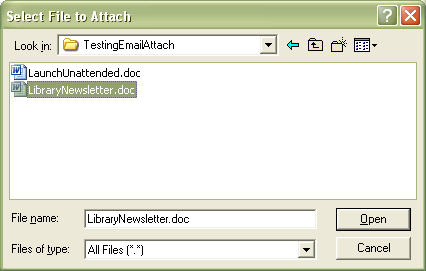
- Browse to the location of the attachment folder.
- Select the file and click the Open button.
- The document will appear in the File Name box (with an arrow next to it).
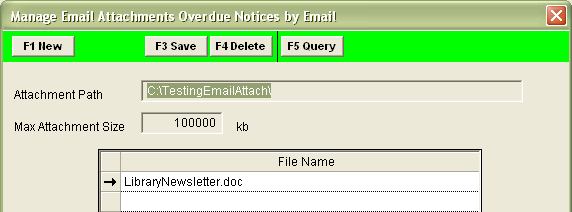
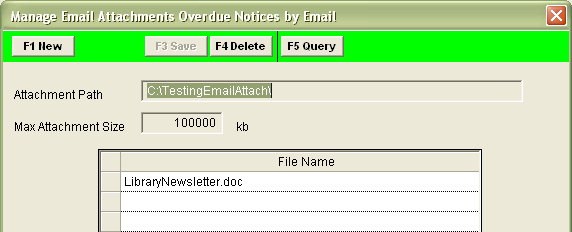
- Click the F3 Save button (the arrow will disappear once saved).
- To add further attachments, repeat steps 3 through 7.
Note: The size restriction set previously in Main > Supervisor > Installation refers to the maximum size allowed for an attachment or the total size of ALL the attachments (if there are multiple attachments).
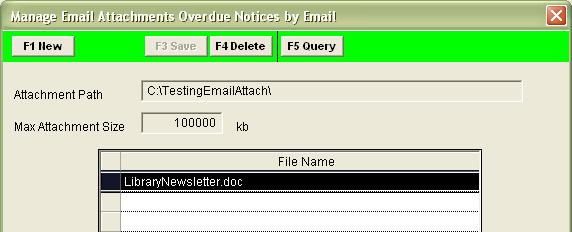
- To delete attachments: highlight the attachment you wish to delete and click the F4 Delete button.
- Once the list of attachments is complete, ensure that you click the F3 Save button to save your changes – close out of the screen by clicking the red cross in the corner.
Email text (RepBorrower only)
When sending an Email Letter to Borrower (&N1ADDEM.QRP) with attachment(s) in RepBorrower, it is possible to send some accompanying text.
Run the report
This report must be run via the Scheduler.