Configure a printer
Learn how to define a different physical printer for each instance of Print Request in Relais ILL.
It is possible to define a different physical printer for each instance of Print Request.
To change the printer associated with an existing instance of Print Request:
- Login to Table Maintenance.
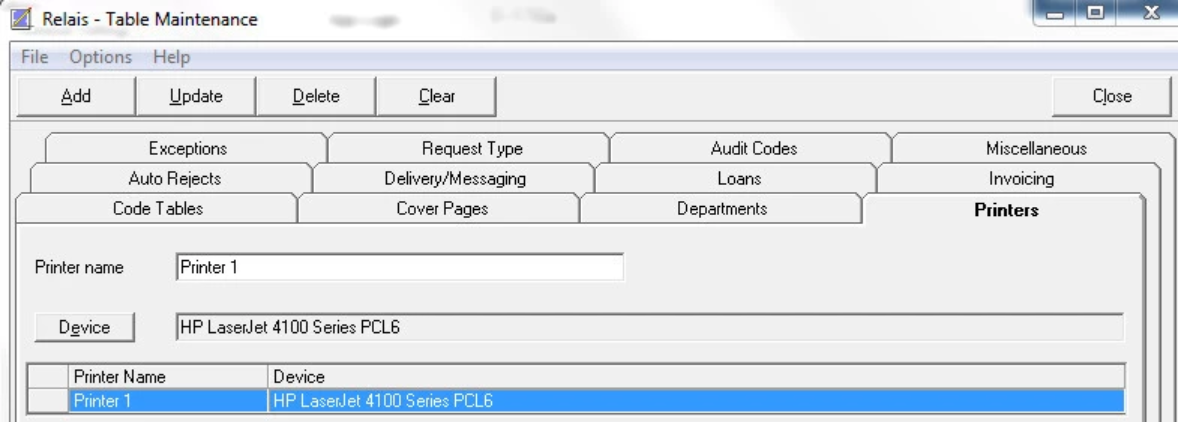
- Select the Printers tab.
- Select the Printer name associated with the specific instance of Print Request, e.g, ILL Office - note this must be entered exactly as it appears in Application Settings - Print Request.
Note: If no particular Print Request instance has been defined, the Printer name should be named "Printer 1". - Click Device to display the Windows Print box listing all known local/network printers.
- Select the printer to use or add a new one.
- Click Print.
- Click Update to update the Device name.
If no printer is specified then the default Windows printer is used.
If you do not want to use the default Windows printer, then the first Printer should match the first instance set via Administer Settings.
Printer names must match Print Request instances found in Application Settings. The names are case-sensitive.