Working with Records
Overview
- Working with Records accordion - Image
-
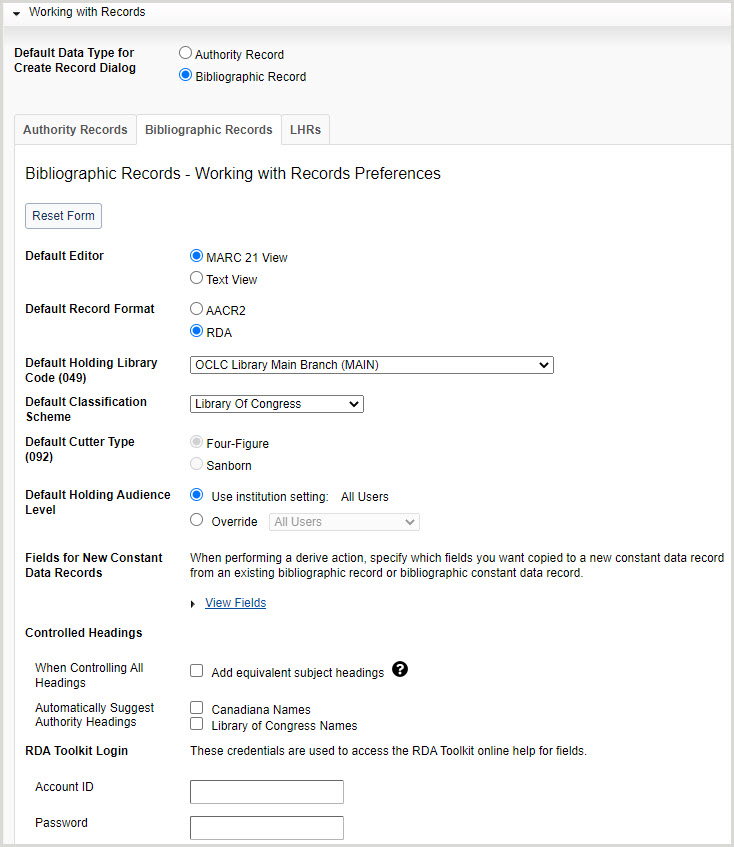
Note: The settings in the Working with Records accordion are configured by each user and apply only to their individual account.
This accordion allows you to set preferences for the record editor, holding library code, classification scheme, cutter type, and more.
- In the left navigation, click User Preferences.
- From the User Preferences screen, click Working with Records.
- Click Reset Form to restore original default settings.
- Click Discard Page Changes to discard the changes you made and retain your previous settings. A confirmation dialog displays to confirm the discardment. Click Discard to confirm and discard your changes.
Click Save to save changes to User Preferences.
Set data type for Create Record dialog
- For Default Data Type for Create Record Dialog, select the default data type for new records.
- Authority Record
- Bibliographic Record (default)
- Click Save.
Set input method behavior
When the Input Method Behavior checkbox is selected, the default arrow key behavior will be disabled to allow language input editors to be able to control the keys when editing records.
- For Input Method Behavior, check the box if you would like to disable arrow key default editor behavior.
- Click Save.
Set preferences for bibliographic records (default)
- Working with records: Bibliographic Records tab - Image
-
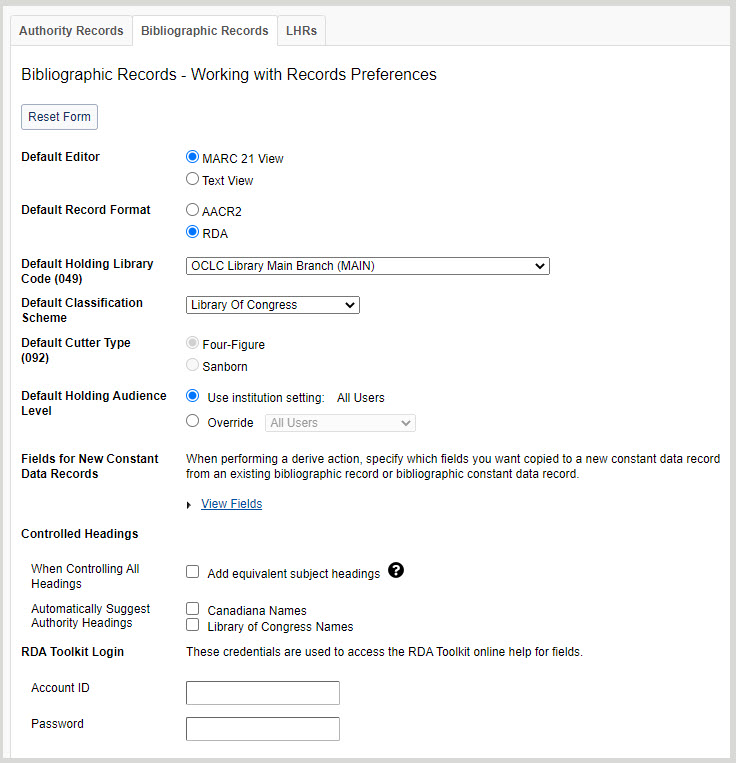
- For Default Editor, select a default record editor.
- MARC 21 View
- Text View
- For Default Record Format, select a default record format.
- AACR2
- RDA
- For Default Holding Library Code (049), select a holding library code from the drop-down list.
Note: The list of available locations is specific to the locations available for your institution. The default option is the default from the Holding Library Code list from the database. This code is for bibliographic records, saved work in-progress records, and local holdings records.
- For Default Classification Scheme, select a classification scheme from the drop-down list.
- None of the following
Note: Select in the case that your institution doesn't use any of the other classification schemes in the list, e.g., because you use a local classification scheme.
- Library of Congress (default)
- Dewey Decimal
Note: When creating labels or adding LHRs, the system will first look for a call number in an 092 field (locally assigned DDC). If none is present, it will look for a call number in 082 (DDC assigned number). This also applies to corresponding fields to an LC call number. The system will first look for a locally assigned LC number in 090; if none is present, it will look for a call number in 050 (LC number)
- National Library of Medicine
- Canadian National Library
- Government Document
- National Agricultural Library
- Universal Decimal
- None of the following
- For Use Metadata AI Enrichment Service, choose which classifications/subject headings you would like to receive AI-provided suggestions for. All options are deselected by default.
- Dewey Call Numbers (DDC)
- Library of Congress Call Numbers (LCC)
- Library of Congress Subject Headings (LCSH)
- For Default Cutter Type (092), select a cutter type.
- Four-Figure (default)
- Sanborn
- For Default Holding Audience Level, select whether to use the audience level specified in the institution settings or to override with a different audience level from the drop-down list.
Note: This option is available to WMS libraries only. For more information, see WorldCat holdings audience levels.
- For Fields for New Constant Data Records, select the fields and field groups you want to include in the record.
- For Controlled Headings:
- Enable or disable adding equivalent subject headings when controlling all headings in a record. By default, Add equivalent subject headings is disabled.
- When enabled, the system checks for uncontrolled headings present in a bibliographic record and tries to control the headings against the appropriate authority files and then attempts to add equivalent subject headings for the controlled headings if the record contains controlled RVM, AAT, LCSH, or MeSH headings. If equivalent subject headings are found, they are controlled to their respective authority file.
- When disabled, the system only checks for uncontrolled headings present in a bibliographic record and tries to control the headings against the appropriate authority files.
Note: Although the system attempts to control all headings when you add or replace a bibliographic record, it will only attempt to add equivalent subject headings when you select Control All Headings from the Record menu in the bibliographic record.
- Enable or disable auto-suggestions for Canadiana Names and Library of Congress Names. By default, auto-suggest is enabled. When enabled, auto-suggestions for field-appropriate Canadiana and Library of Congress Names start with the first keystroke in new and existing records whose: Auto-suggested headings are automatically controlled when selected. If you are editing an existing field, you must first follow the procedure to remove a link from a controlled heading in a MARC 21 record.
- 040 field subfield $b is identified as French ($b fre) for Canadiana Names.
- 040 field subfield $b is identified as English ($b eng) for Library of Congress Names.
- 100, 110, 111, 130, 700, 710, 711, 730, 800, 810, 811, and/or 830 field is blank.
- Enable or disable adding equivalent subject headings when controlling all headings in a record. By default, Add equivalent subject headings is disabled.
- If you are profiled for RDA Toolkit authentication via account ID and password, enter your Account ID and Password.
- For Default Export Method, choose how you would like to export your records:
- TCP/IP
- Export List
- Click Save.
Set preferences for authority records
Note: Your institution must have a valid MARC organization code to view this tab.
- Working with records: Authority Records tab - Image
-
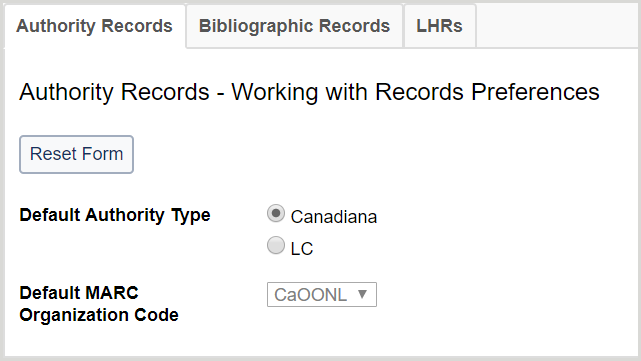
- Click the Authority Records tab.
- For Default Authority Type, select the default authority record type for new records.
- Canadiana
- LC (default)
- For Default MARC Organization Code, select a MARC organization code from the drop-down list.
Note: The list of available codes is specific to the codes available for your institution.
- If there is only one organization code, it displays as read-only.
- If there is no code, you cannot create authority records.
- Click Save.
Set preferences for local holdings records
- Working with records: LHRs tab - Image
-
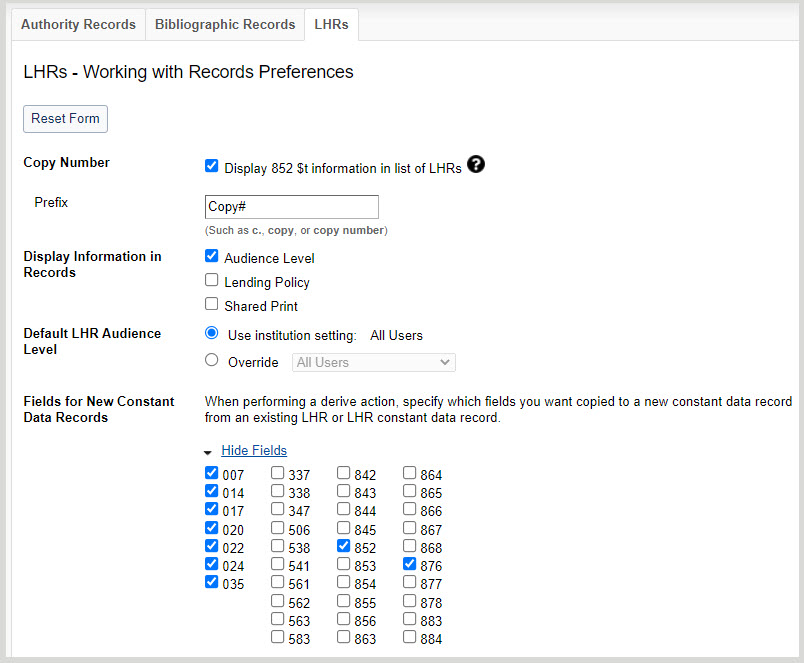
- Click the LHRs tab.
- For Copy Number, enable or disable the display of 852 $t information in your records. By default, Display 852 $t information in the list of LHRs is enabled.
- If enabled, enter a prefix for this information in the Prefix form field (e.g., c., copy, copy number, etc.).
- For Display Information in Records, enable or disable the display of Shared Print and/or Lending Policy columns in the LHR list under a bibliographic record and in the headers of both the bibliographic and local holdings record. By default, the Shared Print and Lending Policy columns do not display. Enable if your library participates in either the Shared Print program or Interlibrary Loan.
- For Default LHR Audience Level, select whether to use the audience level specified in the institution settings or to override with a different audience level from the drop-down list.
Note: This option is available to WMS libraries only. For more information, see WorldCat holdings audience levels.
- For Preserve 852 subfields when applying CD template, you can add multiple 852 subfields that you want to be preserved when applying and previewing a constant data record to a LHR.
- For Fields for New Constant Data Records, click View Fields to expand the available LHR fields accordion. Select the fields you want copied to a new constant data record from an existing LHR or LHR constant data record when performing a derive action.
- For Check Duplicate Call Number, enable if you want the call numbers that you are adding or editing to be checked for duplicates. A warning will appear for LHRs that are attached to separate bibliographic records. In the case that the duplicate call number exists in an LHR under the same bibliographic record, there will be no warning. By default, this setting is disabled.
- If Check Duplicate Call Number is checked, you will also be able to enable the option Check for duplicate call number only within the same branch. When this setting is enabled, the duplicate call number check will only look for duplicate items that are in the same branch. By default, this setting is disabled.
- Click Save.