Label print lists
Overview
You can create spine labels from bibliographic records. You list of labels is only viewable by you and not by other users in your institution.
My labels supports the following label formats:
- A12360
- Custom Label
- Custom Label Set
- L7651
- SL4
- SL6
- SLB
- SP1
Navigate to Metadata > Record Manager > My Labels to work with your labels.
In this area, you will see:
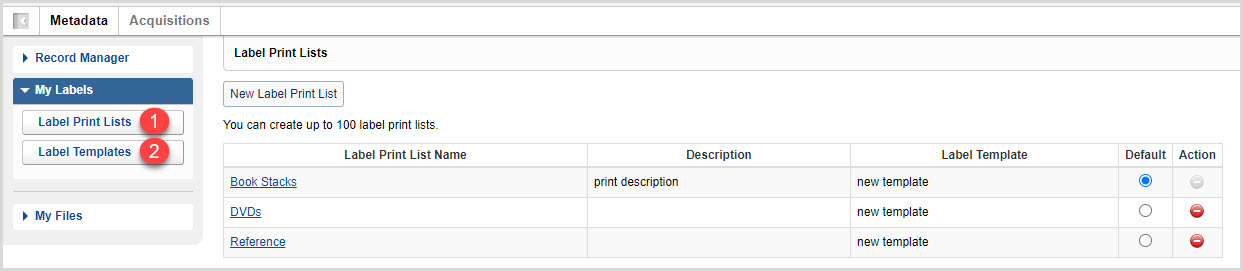
1. Label Print Lists
The Label Print Lists screen allows to you create up to 100 label lists as well as edit, preview, and print labels. You can select which label print list will be selected as the default list when sending records to a label print list. By default, the first label print list you create will be selected as the default list.
2. Label Templates
The Label Templates screen allows you to create up to 25 customized label templates where you can set preferences for label format, page and label margins, font styles and sizes, and content types for the data on your labels.
Watch a video
Simplified cataloging: Labels
Run time: 7:02
This video demonstrates using the simplified cataloging interface to create a label template and a label print list, send records to the label print list, edit labels as needed, print labels, and delete labels after printing.