Create a project
Learn how to create a project in the CONTENTdm Project Client.
Create new project
Before creating a project, your administrator must have installed CONTENTdm and configured your CONTENTdm Server with at least one collection.
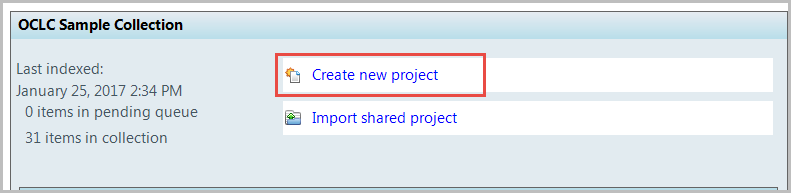
- From the Project Client Home tab, click Create new project. The New Project wizard displays.
- Enter the CONTENTdm Server URL and your login credentials. Click Next.
- The URL may begin with either http or https protocols.
- https://server10010.contentdm.oclc.org is an example of a CONTENTdm Server URL.
- Select the collection where you will upload items from the Choose collection drop-down. Click Next.
- When you upload items from your project, they will always go to the specified collection's pending queue to await approval by an administrator.
- Name your project or review the name provided.
- The name should not exceed more than 128 letters, numbers, and spaces. Only alphanumeric characters may be used.
- Project names are used only within the Project Client to help you organize your work. They do not display to the end user.
- (Optional). If you want to make this project available to other Project Client users, check Share this project on a network with other users. The items are saved in the Project Client and project settings to the shared project location you specify.
- Only one user at a time can work with a shared project. Simultaneous editing is not supported. For more information, see Share a project.
- Click Finish.
- The Home tab displays, with the project you created as the active project.
Edit Project
Once a project is created, the Project Name can be edited using the Edit Project screen. To use the Edit Project screen:
- From the Project drop-down, select Edit Project.
- Select the CONTENTdm Server URL.
- Select the Collections and Project to be edited.
- Click Edit.
- Enter the CONTENTdm Server URL and your login credentials.
- Edit the Project Name.
- Click Ok.